How to set up your editor for React development
Looking cool has never been this easy 🆒
You want to look like those thought leaders on the Twitter-app, right? Otherwise, how are you ever going to be taken seriously?
I’m kidding, of course, but a nice-looking dev environment makes me smile whenever I spin it up. I went through the process on a fresh Linux install the other day, and I thought I’d share the process, so that you too can be a thought leader. Or at least look like one.
So let’s get started!

Step 1: Visual Studio Code
There are many editors out there. Atom. Sublime Text. Webstorm. Even VIM or Emacs if you’re about that life. I prefer VSCode — because it’s extendable, fast enough for my slow ass, and just works most of the time.
You can download it here, but if you’re really interested in blowing people’s minds, download their Insider’s edition instead. Moar features!

Step 2: React Food Truck
Visual Studio Code has a great extension and plugin marketplace, but it’s easy to lose yourself in the vastness of tools offered. A quick way to get most of what you want and need for modern web development, is the React Food Truck. It’s a curated plugin package by Azure-face Burke H✪lland, which packs most (if not all) of the stuff you need out of the box.
Here’s the introductory blog post, and here’s the download page. TLDR — simply search for “food truck” on extensions marketplace, and click install.
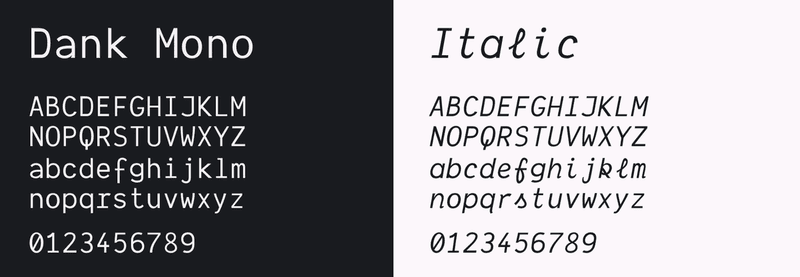
Step 3: Dank Mono
Note — this step costs moneys. Not a lot of moneys, relatively speaking, but still moneys. 40 pound sterling. It will be the best investment to your day-to-day work you’ll ever make.
Dank Mono is the coding font developed by a developer — namely Phil Plückthun. He wrote a blog post about how that process went, which is enjoyable reading for some other time. For now, buy his font and install it.
You can read more about how to get it on their website.
Once downloaded, set the font as your preferred font, by adding this line to your VSCode settings:
{
"editor.fontFamily": "Dank Mono",
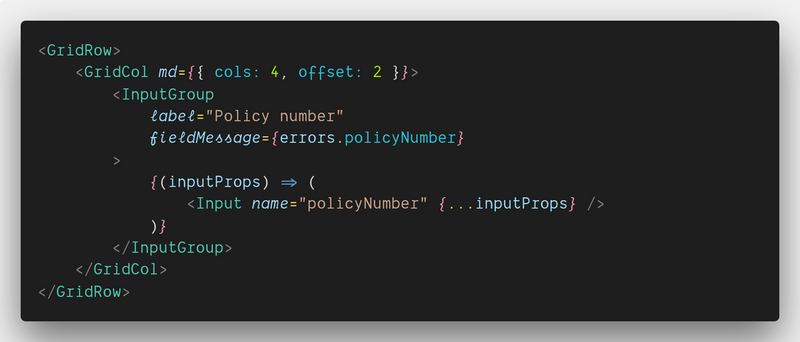
"editor.fontLigatures": true,
}Note that we’re also enabling ligatures. Those change your boring => arrows to actual arrows. And other stuff. You’ll look clever, and that’s all you need to know!

Step 4: Night Owl 🦉
Once your font and extension game is on fleek, it’s time to get the right theme. There are tons out there, but I prefer Sarah Drasner’s fantastisc Night Owl theme, because it’s… wlel, better. Objectively speaking of course.
You can see how it looks and how to get started with it in its repo on GitHub, and you can download it from the market place.
Bonus step: PolaCode
Since you’re now a thought leader, you need to project your opinions onto Twitter. Sure, you can paste code or even a regular ol’ screen shot, but it’s just not good enough. If you want to be taken seriously, you need to use PolaCode. PolaCode is an extension that takes a nice looking snapshot of your code.
It’s totally unnecessary, but why shell out all this time on making your setup look good, if you can’t rub it in peoiple’s faces?
Download the extension from the marketplace, and paste your code as you go along. Twitter will be very impressed, I’m sure.
Congrats!
You have finally arrived. You’re a thought leader. Whatever that means 😄 Hope you found some inspiration, and that you’ll try these products a try. I can’t promise you’ll smile more, but I know I do.